Device Creation
Initially, I began the project working on a Canon BJC 2100 (see More info on BJC2100 Attempt) but ultimately decided to change to the Hewlett Packard Office Jet 5700 for actual final product. I chose this printer primarily because it was provided to me free and was immediate. Additionally, this printer had software that functioned much better on modern computer systems. It was also more reliable because it was relatively new and much less used than the available BJC 2100 printers.
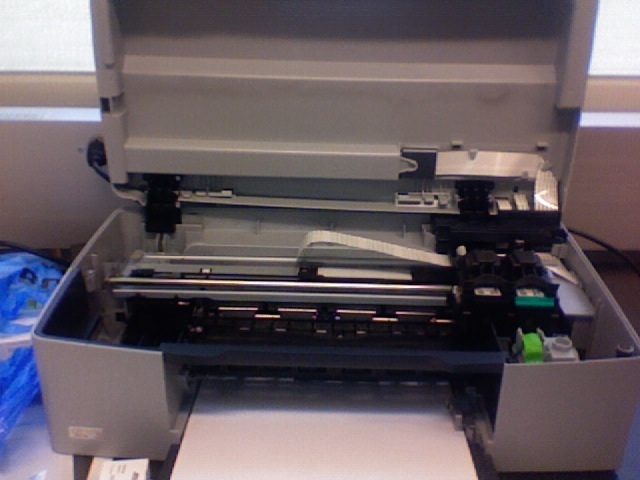
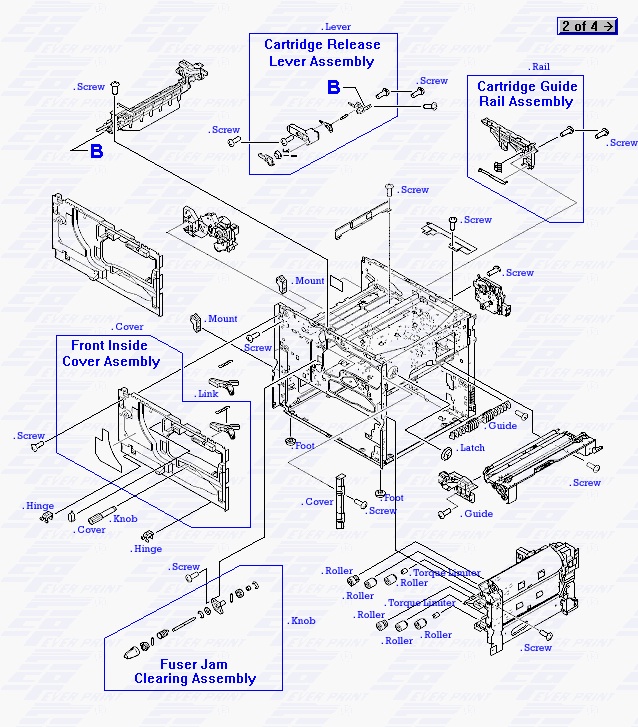
The top plastic cover was removed and two different roller mechanisms were removed. Additionally, a portion of the roller track labeled "B" in the below exploded-view diagram was removed so that there would be no rollers above the sample to potentially make contact.
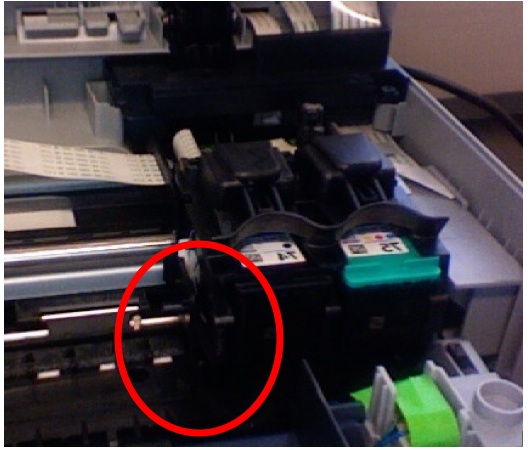
Screws and a tensioned spring device (to apply constant pressure on the bottom rollers) were removed to lower the bottom roller track and increase the distance between the cartridge ink dispenser and the top face of the printing surface, indicated by the red circle below. After the device was lowered, the distance was approximately 1.5 mm. This figure was estimated running the printer head over the maximum number of paper sheets without depositing ink.
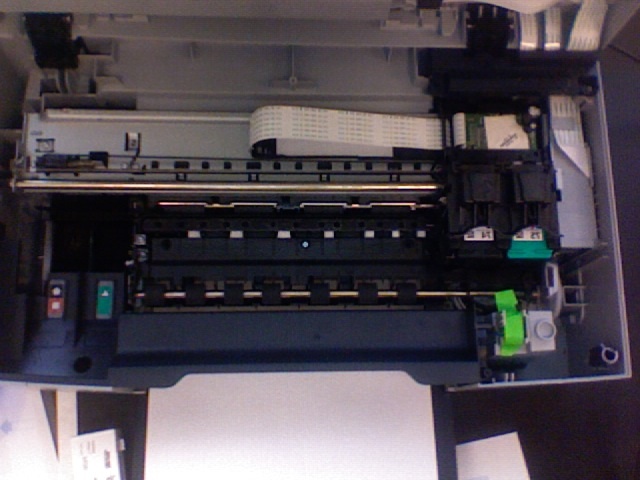
Additionally, the sponges that dab the ink cartridge for drips were removed. The device that sweeps across the idle cartridges immediately after insertion was also removed to avoid cell contamination.
For actual operation, the device could be run from basic Word processing programs as if printing any other document. To print onto a slide, one could pre-advance the paper and attach a glass coverslip to the printing surface. Alternatively, one could allow the paper to feed normally, then pause the printing process by triggering the "open door" error by flipping the switch that indicated that the lid was closed; during the pause, the coverslip would be placed under the printing track and adhered with double stick tape. After returning the lid switch to the closed position, printing would resume, depositing the sample onto the glass slide.
To automate the process, a short code was written to pause the printer after a certain amount of printing time had passed. This eliminated the user having to time the placement of the glass slide themselves.


