Difference between revisions of "Assignment 6 Overview"
From Course Wiki
Juliesutton (Talk | contribs) |
Juliesutton (Talk | contribs) |
||
| Line 5: | Line 5: | ||
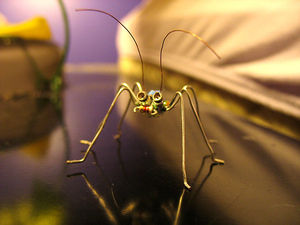
[[Image:Resistor Bug.jpg|right|300 px|thumb|Photo by Brendan Dolan-Gavitt]] | [[Image:Resistor Bug.jpg|right|300 px|thumb|Photo by Brendan Dolan-Gavitt]] | ||
| − | During the next lab | + | During the next few weeks in lab, you will build and debug several electronic circuits to measure melting curves of DNA. This assignment will introduce you to the electronic components and test equipment you will use. |
This assignment requires an understanding of basic circuits. If you need to review circuit concepts, start with the [[Electronics Primer]] page. If you have a lot of experience with electronics, ask one of the instructors about doing a stimulating mini-project instead of this assignment. | This assignment requires an understanding of basic circuits. If you need to review circuit concepts, start with the [[Electronics Primer]] page. If you have a lot of experience with electronics, ask one of the instructors about doing a stimulating mini-project instead of this assignment. | ||
Revision as of 20:24, 12 October 2017
During the next few weeks in lab, you will build and debug several electronic circuits to measure melting curves of DNA. This assignment will introduce you to the electronic components and test equipment you will use. This assignment requires an understanding of basic circuits. If you need to review circuit concepts, start with the Electronics Primer page. If you have a lot of experience with electronics, ask one of the instructors about doing a stimulating mini-project instead of this assignment.
Assignment Details
This assignment has three parts:
- Part 1: A few questions to answer before you start your lab work.;
- Part 2: Get in the lab and start building and measuring basic circuits;
Submit your work on Stellar in a single PDF file with the naming convention <Lastname><Firstname>Assignment6.pdf.
| |
Here is a checklist of all things you have to turn in:
|
Back to 20.309 Main Page.

